 |
| Here's lookin' at YOU! |
Well, I have been asked to do an eye sculpting tutorial. For those of you that know me, I LOVE to teach. It fascinates me, inspires me and just resonates with every part of me. So.... I was not opposed to helping others out. The tutorial is using Magic Sculpt (
http://www.magicsculp.com/ ) and Clay Shapers (
http://www.sculpt.com/catalog_98/CLAYTOOLS/clayshapers.htm ). I have just started using Magic Sculpt, but so far it seems like a great product with a ton of elasticity. It doesn't carve quite like Apoxie or Fit It Sculpt, but it's lovely none the less.
The tutorial is on a resin, it can be used for original sculptures, plastic customs and other bodies/applications.
Step 1
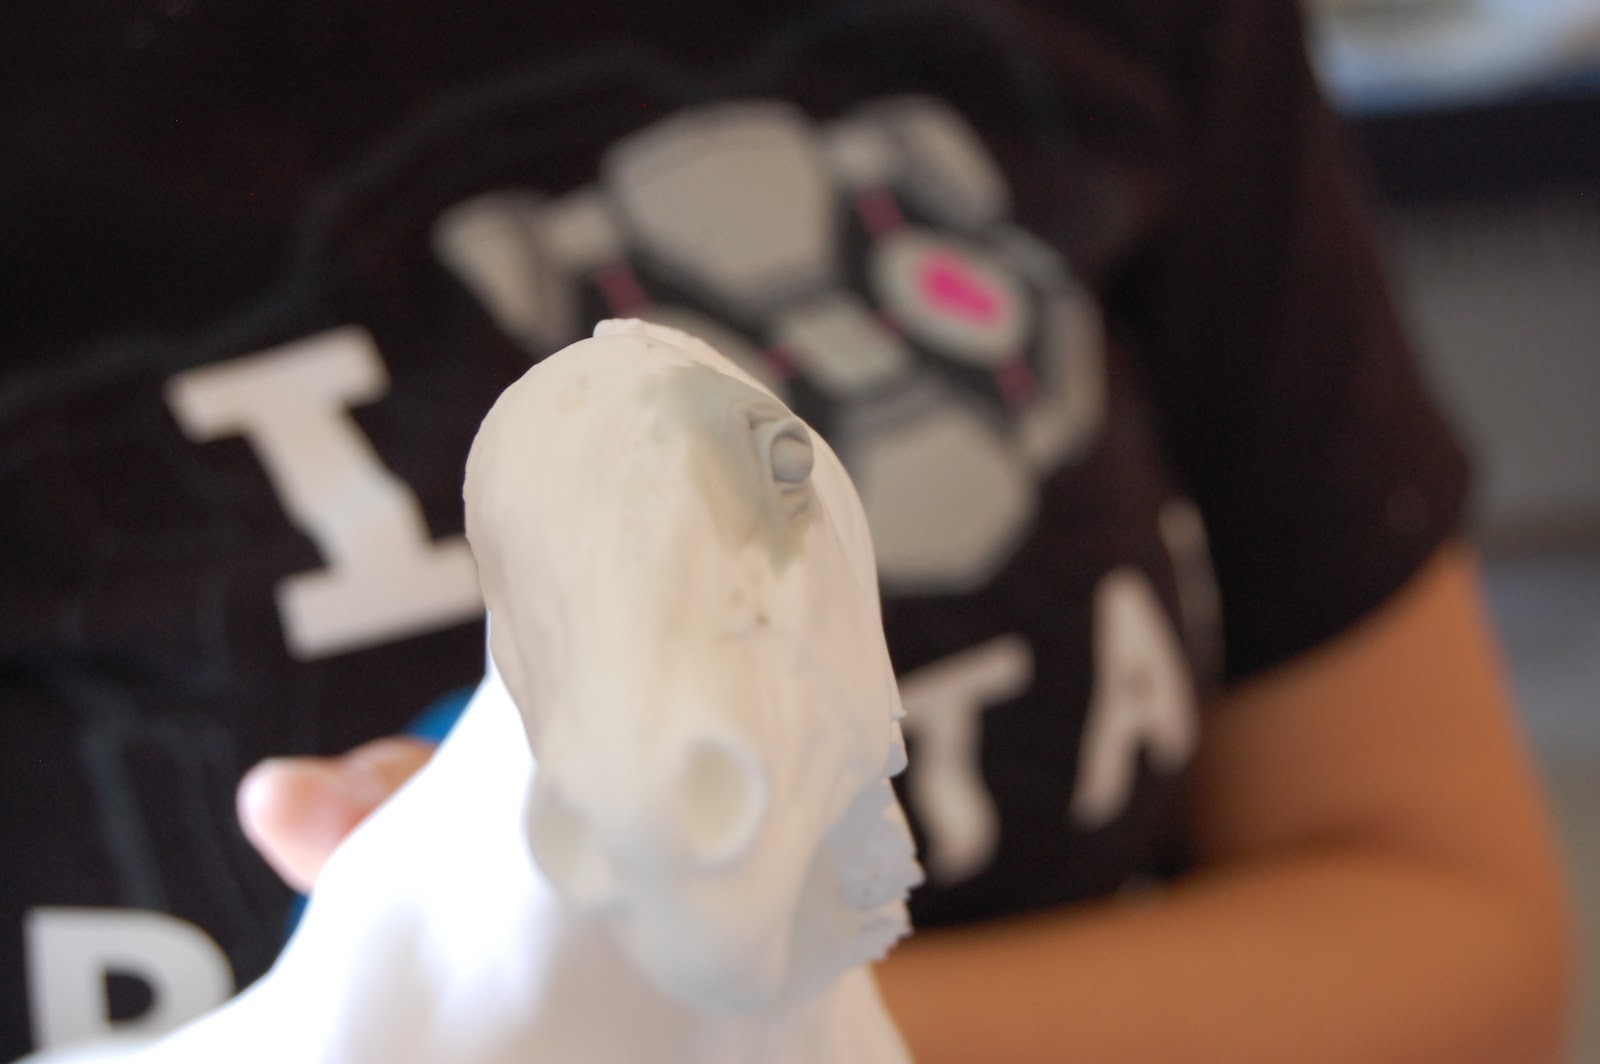
First off, you need a blank canvas to work with. Make sure your surface is nice and flat. The last thing you want is a bump or high patch to throw it all off. It's better, in my opinion, to take of more rather than less.


In the above picture, the resin only has one side fully prepped for a new eye. His cheek bone needs a bit more added to it but that can be taken care of after the eye.
Step 2
REFERENCES! Woo! Most artists, hobbyists and horse lovers have tons of these lying around. Make sure you have a similar breed to what you are looking for (Tekes for example, have a very distinct hooded eye). You also want to find something with the expression you are looking for. Not all expressions look the same! You would be surprised to see how different they can be. The movement of the eye moves the gooshy flesh in and around it and the lids as well. So, try to find close to what you are looking for and find a LARGE version. The bigger the picture the more detail you will be able to see.


Notice all the juicy wrinkly and gooshy bits. There is a lot around the eye, much like in a human eye, that moves and contorts depending on the expression. Try to notice the parts, the orb of the eye, the lids and surrounding flesh.
Step 3
To start the horse, I put on a blob of Magic Sculpt. Some people use beads as the orb of the eye, preformed epoxy or sculpt the orb first and let it dry. You need to use what works for you, but this method lets you work on the entire eye at once. It also really lets you get the feel and allow for you to shift parts around. I usually end up adding more to the upper lid later on but at least we get the general idea this way.
You want the blob to be big enough to form all the parts of the eye. You can always take away and add so don't get too worried about exactly how much at first. The size really comes with experience and time. Magic Sculpt is great for this because it really blends into its self very well and you can add easily to it. Make sure you smooth the blob around the edges so you can really see what's going on with the face and the sculpting.


These are Clay Shapers! They are my favorite tools ever! They have different colors for different hardness of plastic/rubber. Black is extra firm, grey is firm and white is soft. For this I use mainly the white and grey tips in the smallest size (0). I also use mainly the angle and taper point tips. The angled tip lets me work in fine lines and details. The taper point lets me round the orb and work things that don't need a hard line. I LOVE LOVE LOVE these things! They are well worth the investment and with care they can last a long time.
Keep your tools lubricated! Make sure you have a little bit of water or solvent handy to dip your tools into. Don't use too much or you will get really messy melty sculpting and detail. Just a little goes a long way!
Step 4
This is the beginning! We draw in a rough orb for the eye. The orb isn't perfectly round so don't get too caught up in that. What you want to focus on is the shape of the eye and the alignment. There is a neat trick for this demonstrated by the second picture. I will explain more below it. Study your reference for position. You want the eye to be around the center of the cheek or a bit above. Any lower and the eye would be in the way of the roots of the teeth.. If you follow your reference you should get it spot on! You also don't to make the eye too large. This isn't terribly important at this stage because you can play with the size back and forth a lot in the process of detailing. I will go over tips later. Just don't fret on it too much. Placement is more important in these early steps.
Also, don't worry too much about what it looks like form the front at this stage.
Take this opportunity to round out the orb as much as you can as well. I haven't done a terribly good job of it here but I use the taper tip Clay Shaper to massage the orb into shape. Massaging may seem like a weird word for it but it's very fitting. As with most of my sculpting it's a process of back and forth to come to where I want to be. You play until you get it right. So don't be too hard on yourself.

Proper alignment of the eye with the rest of the face is crucial! It's actually also very simple. Take a tool and make sure the bottom of the nose, eye and ear bulb align and tada!

Step 5
Now we further define the eye and it's shape. We also start in on setting the lids. As you can see, this brought in the orb shape a bit. This is also the stage where you start looking at the view from the front. The shape here isn't bang on but I will moosh it around until it sits right. Again, it's not terribly important it be perfect at this stage. There is quite a bit of movement still possible here.
I use both of the Clay Shapers in both of the colors to achieve the steps from here on. The angle tip makes for lovely lines and lids.


 |
| "I'm not a frog I swear!" |
Step 6
I've started in on the expression here. You can see a furrowing of the brow and the lids starting to be really defined. I have also gone in with a soft and small paint brush, one that can be wrecked, and water to smooth out the harsh lines the Clay Shapers have made. What this does is really lighten the sculpting and keep it from being hard lines in the clay/epoxie.
For the lids, particularly the upper ones, I use the angle tip Clay Shaper to push the Magic Sculpt down towards the orb and create the lid. It helps create that harsh line that you do want between the orb and the lid but it also keeps it looking natural. If you drew it in with your tool it would look just like what you did and not really follow a smooth curve around the orb. This also works well as a technique for adding a bit of lash to the lid as it pushes it out from the orb if you encourage it. Everything is playing with the material to get the feel you want. If something goes wrong just play.
Note: Water works very well for Magic Sculpt. Those using Aves Apoxie Sculpt or Fix It Sculpt will likely need rubbing alcohol for smoothing. Those using oil based clay will likely need Goo Gone.

See how in the above picture you can see the roughness of the Magic Sculpt where is has caught my tool? This happens and you just smooth it out as demonstrated below.

Here you see me using my brush with a bit of water to smooth out what I have done so far. The change in light also lets you see the detail differently. I am constantly changing the angle and lighting during sculpting to really ensure I am getting the right shape. It's hard to tell with just one angle or lighting. In this case, I blocked the direct light with my hand through the entire process to ensure I could really SEE what was working and what wasn't.
You can really see in the above picture how the lids are really shaping up! The lighting also really shows how the transition from lid to orb is a hash but natural one.
Make sure you aren't adding too much solvent/water to your brush. You want it lubricated but not dripping. If it's dripping you could destroy all of the detail you have worked so hard for up to this point.
I use both of the Clay Shapers in both of the colors to achieve the remainder of the steps.
Step 7
Now you will really see me play with the shape of the eye it's self. I have also added a bit of the lovely pooching of flesh under the eye. You get this more prominently when the horse is looking back as the shape of the orb pushes the flesh around, but I love it too much not to have it in there a little. I will smooth it in more later.
This is really just the stage when you push things around until they are where you want them to be. I have also added more definition to the lower lid and added a bit of the shape of the skull area around the orb. That is where the eye socket sticks out just behind the eye and then opens up on top to the "Salt Cellar" above and behind the eye.

 |
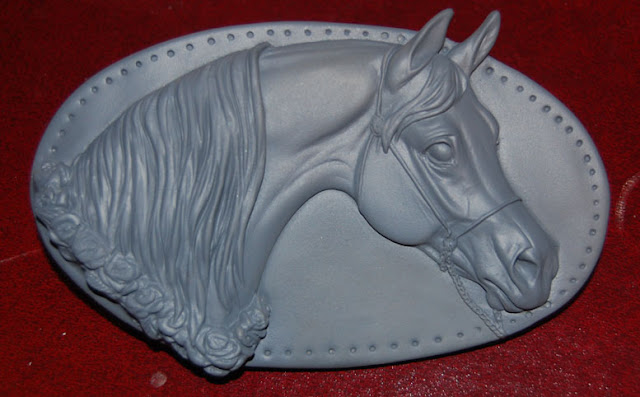
| You can really see the "Salt Cellar" on this horse. Check it out right above and behind the eye. He also has a bit of a sunken in eye. It shows you how unique each horses face is. |
 |
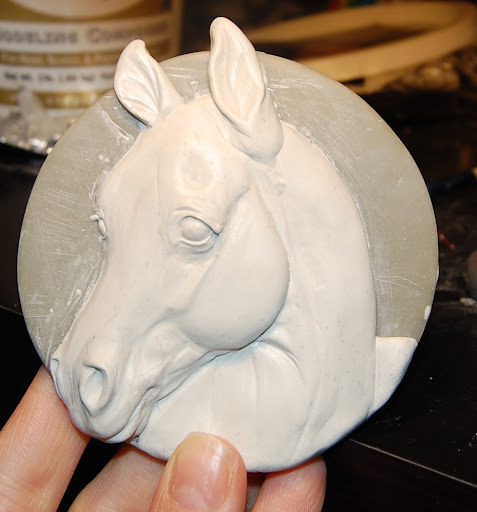
| Much less of a "Salt Cellar" but you can see a little of it. It is correlated with age as well so the older the horse the more it seems to show up. But you can see the definition of the bone behind the eye. What a handsome horse! |

Ensure you are checking the alignment of the nose, eye and ear during the process to ensure proper positioning.
THE END! TADA!!
After a little more finessing and playing until I think the feel is right I smooth one final time and let the Magic Sculpt set up. I will likely come in later to refine add a bit more above the top lid.
This is an example of lighting changes. The expression of the horse is being refined and the "Salt Cellar" has been added with the back of one of the Clay Shapers. That rounded end is handy for this!


 |
| There definitely needs to be more above the eye, but that can be added later when this has dried. |
Here are some references from the front for eyes.

 |
| This photo isn't mine. I am using it for reference and visual aid only. |
I hope you find this tutorial useful! Please let me know if you have any questions. You can find more of my work on my Facebook Page here:
Khrysalis Studios

.JPG)


